Drill and tap tools create precise threaded holes. A drill removes material to a size that leaves a core for the tap to cut a screw thread. Proper selection of drill diameter and tap pitch ensures strong, accurate connections in metal or plastic parts. This guide covers fundamentals and methods.
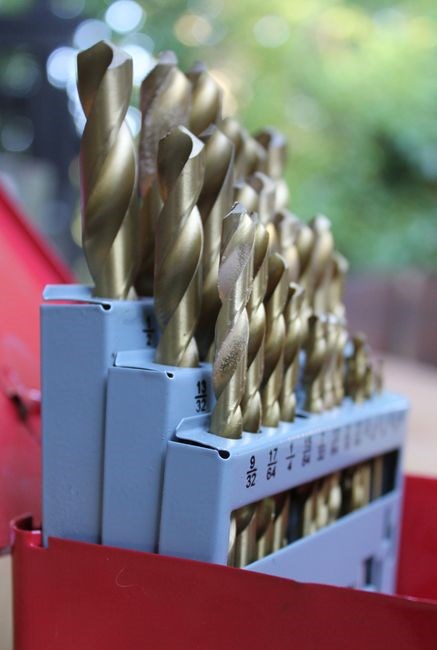
Purpose of a Drill Guide
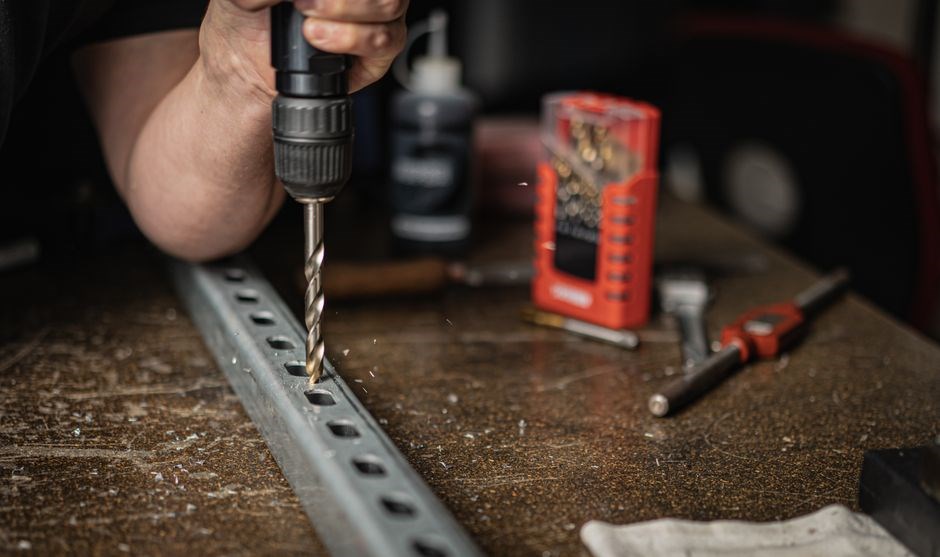
Drill guides serve as precision tools that dictate the exact diameter of a hole to be drilled before tapping. By providing a calibrated reference, they eliminate guesswork and reduce the risk of over‑drilling or under‑drilling, both of which can compromise thread integrity. A well‑chosen drill guide ensures that the core left for the tap matches the specified pitch and depth, allowing the tap to cut clean, uniform threads. In addition to size accuracy, drill guides help maintain concentricity, preventing eccentric holes that could lead to misaligned threads or weak joints. They also aid in controlling the depth of the hole, which is critical when the thread length must match a particular screw length or when the material thickness is limited. Many guides include depth stops or markings that allow the operator to set a consistent depth for each operation, improving repeatability across multiple parts. For high‑volume production, using a drill guide reduces setup time and minimizes the need for re‑work caused by improperly sized holes. Furthermore, drill guides can be designed to accommodate different thread families—UNC, UNF, metric ISO, or NPT—by incorporating appropriate drill size charts. This versatility makes them indispensable in workshops that handle diverse fastening requirements. Finally, a drill guide contributes to safety by ensuring that the drill bit remains centered and stable during operation, reducing the likelihood of sudden bit slippage or breakage that could damage the material or injure the operator. Precision ensures the thread root remains intact, preventing gallingOK
Purpose of a Tap Guide
Tap guides are essential tools that provide a quick reference for selecting the correct drill bit size for a given tap. By mapping tap pitch, thread type, and recommended drill diameter, they help avoid over‑drilling or under‑drilling. An accurate drill size ensures the tap cuts a full thread profile, maintains strength, and achieves a tight fit with the mating screw. The guide also notes thread depth, clearance, and special considerations for metric, UNC, or UNF threads. Using a tap guide reduces waste, improves first‑time success, and saves time in production and repair work; It serves as a quick reference for troubleshooting when threads fail to cut or break.
A typical guide lists each tap size with its drill size, expressed as a fraction or decimal. It may also show recommended tap angle, depth of cut, and the ideal number of taps per inch for fine threads. For metric threads, the guide shows pitch in millimeters and drill diameter in millimeters; for imperial threads it shows pitch in threads per inch and drill diameter in fractions of an inch.
When tapping in hardened steel, a larger drill size may be needed to prevent tap breakage, or tapping in thin material may require a smaller drill size and a shorter depth of cut. By consulting the guide before starting a job, the operator can choose the optimal drill size, set up the tap correctly, and avoid costly mistakes that arise from using an incorrect drill.
This ensures reliable assembly and longevity today.
Standard Drill and Tap Sizes
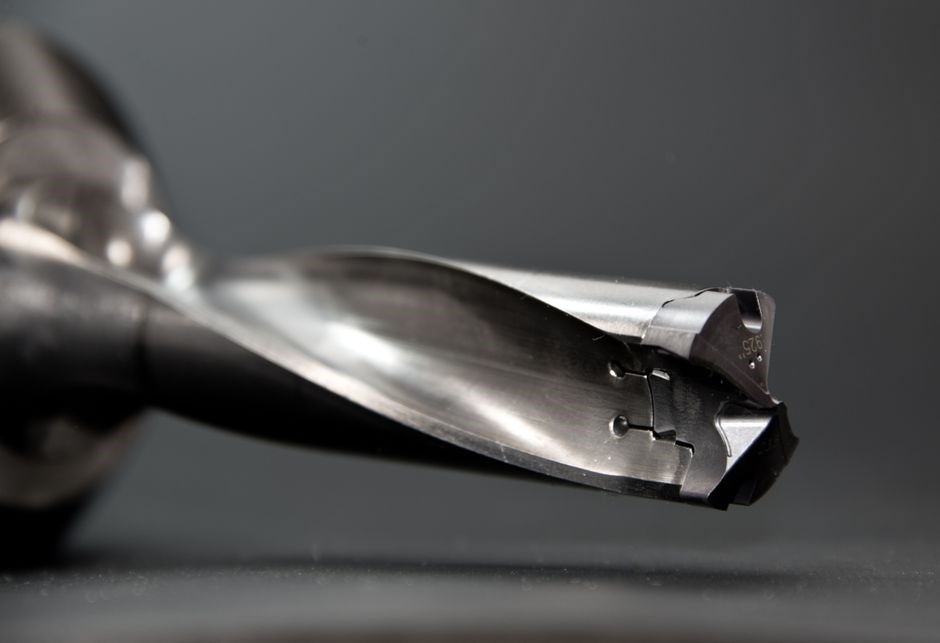
Standard sizes cover UNC, UNF, ISO, and NPT threads. Common drill diameters range from 0.010″ to 1/2″ for UNC, while metric taps use 1.0 mm to 20 mm. Guides list fractional and decimal values to match tap pitches, ensuring accurate thread formation. for all.!
Imperial (UNC, UNF) Sizes
In the United States, the most common thread standards for bolts and screws are Unified National Coarse (UNC) and Unified National Fine (UNF). UNC threads have a pitch of 1 1/2 threads per inch (TPI) for sizes 1/4‑inch and larger, while UNF threads have finer pitches ranging from 4 TPI for 1/8‑inch up to 18 TPI for 1‑inch. The drill‑to‑tap ratio for UNC is typically 0.92, meaning a 1/4‑inch tap requires a 0.194‑inch drill. For UNF, the ratio is 0.95, so a 1/4‑inch UNF tap needs a 0.195‑inch drill. These ratios are derived from the standard thread geometry: the major diameter minus the minor diameter divided by the pitch. The drill size is calculated by subtracting the pitch from the major diameter and then dividing by the pitch. For example, a 1/2‑inch UNC tap (pitch 12 TPI) has a major diameter of 0.500 in, a pitch of 0.0833 in, so the drill size is (0.500 – 0.0833)/12 = 0.0344 in, rounded to 0.035 in. A 3/8‑inch UNF tap (pitch 18 TPI) uses a 0.054‑inch drill. Engineers often refer to drill charts that list the exact drill diameters for each thread size. When selecting a drill bit, consider the material hardness: harder alloys may require a slightly larger drill to compensate for bit wear, whereas softer metals can be drilled with the exact chart value. In practice, a small tolerance margin (±0.001 in) is acceptable, but exceeding the recommended drill size can lead to weak threads and potential failure under load. This precision ensures reliability in mechanical assemblies, enhancing safety;
Metric (ISO, NPT) Sizes
Metric threads follow ISO 68, using a uniform pitch‑to‑diameter ratio that simplifies selection. Common sizes run from M1.6 to M100, with fine‑pitch variants such as M6‑0.75 or M8‑0.5 for tighter tolerances. Drill diameters for metric taps are calculated by subtracting the pitch from the nominal diameter and adding a small clearance (≈0.1 mm). For example, a 10 mm M10‑1.5 tap requires an 8.5 mm drill, while a 12 mm M12‑1.75 tap uses a 10.25 mm drill. ISO threads also define classes (e.g., 6g, 6H) that specify tolerance levels; higher classes demand more precise drilling and tapping. NPT threads, though nominally inch‑based, often appear in metric contexts when converting pipe fittings; the equivalent metric size is derived by multiplying the nominal inch diameter by 25.4. A 1/2‑inch NPT pipe corresponds to a 12.7 mm nominal thread, with a pitch of 0.75 mm for the 1/2‑NPT standard. When working with NPT in a metric workshop, use a dedicated NPT tap set or a metric drill that matches the converted diameter. Accurate measurement tools are essential for thread integrity. Proper lubrication reduces friction and heat buildup, extending tool life. Use a tap wrench to hold the tap steady during cutting!! Check the thread depth after each pass to avoid over‑cutting. Finally, verify the final thread depth and pitch with a thread micrometer or optical comparator before assembly. In high‑strength alloys, lower tap speed and higher fluid flow prevent galling.

Drill-to-Tap Size Charts
Drill‑to‑tap charts list the ideal drill diameter for each tap size. For UNC threads, the drill is typically 0.020 inches smaller than the tap pitch; for metric, use the 0.8× pitch rule. These tables help avoid over‑drilling and ensure clean threads; Use these charts to match drill sizes with tap threads, ensuring proper clearance and thread depth. Add a depth gauge for precise thread depth.!!
Common Ratios
When selecting a drill bit for a tap, the most common approach is to use a ratio of drill diameter to tap pitch. For standard Unified National Coarse (UNC) threads, the recommended drill size is roughly 0.9 times the nominal pitch. For example, a 1/4‑20 tap (pitch 0.05”) would use a 0.045” drill. Unified National Fine (UNF) threads use a slightly larger ratio of about 0.92, giving a 1/4‑32 tap a 0.046” drill. Metric ISO threads follow a similar rule: the drill diameter is approximately 0.95 of the nominal pitch. Thus a 5‑M8 tap (pitch 0.8 mm) would use a 4.8 mm drill. These ratios provide enough clearance for the tap to cut cleanly while leaving enough material to support the thread. When working with non‑standard or specialty threads, the ratio may shift to 0.88 or 0.94, depending on the thread profile and the material hardness. It is also common to see a 1:1 ratio for very fine threads or when using a tap that has a reduced core diameter. Always verify the manufacturer’s recommendation, as some taps are designed with a unique core size that deviates from the standard ratio. Using a chart or a calculator that incorporates the specific thread standard will ensure the correct drill size and avoid over‑drilling or under‑drilling, which can compromise the strength of the joint. Using a reliable drill‑to‑tap chart or calculator ensures you select the correct drill size, reducing waste and improving joint quality for consistent performance across projects and reliable, proven!!.
Using Drill Guides for Accuracy
Drill guides are essential for achieving consistent thread quality. They provide a quick reference for selecting the correct drill size before tapping, reducing guesswork and minimizing errors. Commercial guides, such as the KING PRINT Tap Drill Knowledge poster, display both fractional and metric values, allowing users to cross‑check with machine screw specifications. The guide lists UNC, UNF, ISO, NPT, and NPSF threads, making it versatile for a wide range of applications.
Home‑made guides, like the one from HomemadeTools.net, use 1/32‑inch intervals to cover both decimal and fractional sizes. The guide includes letter and number designations, enabling machinists to match drill bits to tap sizes accurately. By consulting the guide, a technician can quickly determine the drill diameter that corresponds to a desired thread pitch, ensuring the tap will cut a clean, interference‑free thread.
Using a drill guide also helps in selecting the correct drill bit type. For example, a high‑speed steel (HSS) bit is suitable for softer metals, while cobalt or carbide bits are recommended for harder alloys. The guide often indicates recommended drill bit materials alongside the size chart, allowing operators to choose the appropriate tool for the material being tapped.
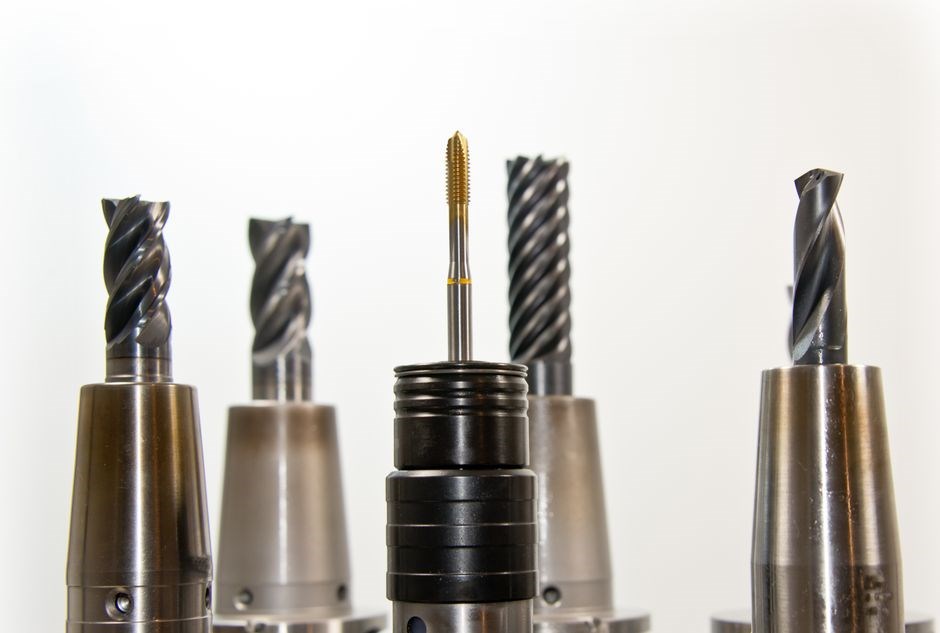
In addition to size selection, drill guides aid in maintaining proper drilling depth. Many guides include depth markers or reference points for common tap lengths. By drilling to the indicated depth, the tap can be inserted fully without risking over‑drilling, which can compromise the thread’s structural integrity.
Finally, drill guides support quality control. By documenting the drill size used for each thread, engineers can trace any issues back to the initial drilling step. This traceability is critical in high‑precision industries where thread accuracy directly affects product performance and safety.

Material Considerations
Hard metals (steel, titanium) require hardened drills, sharp taps, and cooling. Soft metals (aluminum, brass) can be tapped with standard tools but benefit from light lubrication to reduce galling. Selecting the right material ensures thread integrity and tool longevity. for precise fit. keep. 1
Hard vs Soft Metal Tapping
When tapping hard metals such as stainless steel, alloy steel, or titanium, the tap’s geometry must be robust to resist wear. A hard‑metal tap (often cobalt or carbide) with a larger helix angle and a higher pitch allows the tool to clear chips quickly and maintain strength. The drill hole should be slightly undersized to give the tap a solid core, and a high‑speed steel (HSS) drill with a sharp point is preferred. Lubrication is critical: a high‑viscosity cutting fluid or a dry‑tap compound reduces heat and prevents galling. The feed rate should be slow, and the tap should be rotated in short bursts, reversing every few turns to break up chips. For soft metals like mild steel, aluminum, or brass, a standard HSS tap with a 30° helix angle is adequate. These materials allow for a larger drill hole, and the tap can be run at a higher speed. Light lubrication or even dry tap can suffice, but using a light oil or a low‑viscosity cutting fluid still improves life. Soft metals generate less heat, so the risk of galling is lower, but care must still be taken to avoid over‑tightening, which can strip threads. In both cases, using a tap wrench with a good grip and a proper torque setting ensures consistent thread quality. Proper selection of tap material, drill size, and lubrication strategy is essential for achieving reliable threads in both hard and soft metals;When working with high‑strength alloys, consider using a tap with a stepped profile to reduce load and extend tool life keep drill steady
Lubrication & Heat Management
Lubrication reduces friction and heat, extending tool life. Use cutting fluid or oil, applying it before drilling and during tapping. Coolants flush debris, prevent overheating, and improve surface finish. Consistent lubrication ensures accurate threads and reduces breakage risk. Keep tools clean.
Lubrication & Cooling Strategies
Heat buildup during tapping is a critical factor life. The key to mitigating this is a well‑planned lubrication and cooling regime tailored to the material and thread size. For most metal tapping operations, a 5 % cutting oil or a synthetic 3‑in‑1 spray provides a thin, durable film that reduces friction and carries chips away from the cutting edge. Apply the lubricant before the first tap pass, and re‑apply after every 10–15 turns to maintain a consistent film. In high‑speed or deep‑hole tapping, a cold‑water spray or an air‑blast system can be used to keep the drill tip below 200 °C, but care must be taken to avoid direct water on the drill bit to prevent corrosion or galvanic damage. For plastic tapping, a water‑based or silicone spray is preferred because it prevents melting and provides a clean surface. When using a drill guide, it is essential to lubricate the guide’s internal surfaces with a light oil to reduce wear and maintain precise alignment. A small pump or a coolant‑filled drill pipe can circulate fluid through the hole, ensuring continuous cooling of both drill and tap. Oils, 10 % solution of a 2‑butoxyethanol, for a titanium alloys. Finally, always follow the manufacturer’s recommendations for specific materials, as some alloys require a higher viscosity oil or a dedicated high‑temperature coolant. Proper lubrication not only cools the tool but also flushes chips out of the hole, preventing re‑cutting and ensuring a clean, accurate thread.

Safety & Maintenance

Wear protective gear: goggles, gloves, hearing protection; Keep work area clean, use clamps, and secure workpiece. Inspect drill bits and taps for wear; replace dull tools to avoid breakage. Store in dry containers. Oil bearings and check for overheating to extend tool life; Use magnetic holder
Safety Precautions
When drilling and tapping, wear safety glasses or a face shield and hearing protection. Secure the workpiece with a vise or clamps to prevent movement. Use a sharp, correctly sized drill bit; a dull bit can bind and cause sudden jerks. Keep drill speed appropriate—too high over‑heats, too low causes torque buildup. Maintain perpendicularity to avoid off‑center holes and cross‑threading. Apply lubrication or coolant to reduce heat and extend tool life. Keep the area clean and free of obstructions. Use a depth stop or drill guide to avoid over‑drilling. When tapping, use a snug tap wrench; a loose wrench can slip. Rotate the tap slowly, applying steady pressure, and stop if resistance increases. Inspect taps for damage before use. Clean holes of burrs to ensure proper thread engagement. Dispose of metal shavings in a container to prevent tripping hazards. Store drill bits, taps, and accessories in a dry, organized area to prevent accidental injury or damage. Always inspect the drill bit and tap for cracks before use; a damaged tool can break during operation, posing a serious safety risk. When operating a drill press, ensure the spindle is locked and the guard is in place to protect against accidental contact. If the workpiece is made of hard metal, consider using a higher speed and a cutting fluid to reduce heat and wear. Never use a damaged or worn tap; always replace it to avoid cross‑threading and ensure a secure fit. Use a depth stop or a drill guide to keep the hole depth consistent, preventing over‑drilling and ensuring the tap reaches the full thread length. Done!
Tool Care & Longevity
Proper maintenance extends the life of drill bits and taps. Clean each tool after use to remove metal shavings and coolant residue. Use a soft brush or compressed air; avoid abrasive pads that can nick the cutting edge. Inspect for burrs, dullness, or cracks before the next job. A sharp edge cuts cleanly and reduces heat.
Store bits and taps in a dedicated case or magnetic tray. Keep them separated by size and thread type to prevent accidental cross‑use. Avoid stacking heavy items on top of the tools, which can deform the shank. Label each compartment for quick identification.
Apply a light coat of oil or a cutting‑tool preservative to the shank and tip. This protects against rust and reduces friction during drilling or tapping. For high‑temperature work, consider a heat‑resistant coating that can withstand repeated cycles.
When reusing a tap, check the pitch gauge to confirm it still matches the intended thread. Replace taps that show signs of wear or have a distorted profile. For drill bits, replace any that exhibit a flattened tip or a chipped edge. Re‑tapping a hole with a worn tap can compromise the thread integrity.
Regularly calibrate your drill press or handheld drill to ensure the spindle remains true. A misaligned spindle can cause uneven cutting and premature wear. Use a dial indicator or a simple straightedge test to verify alignment before each session.
Finally, keep a log of each tool’s usage. Note the material, depth, and any issues encountered. This record helps predict when a tool will need replacement and allows you to track performance trends over time.